HOW TO

How to Install and Configure a Smart ZigBee PIR Motion Sensor and Use It together with a Smart Sterilizer - Step by Step Guide

This guide provides step-by-step instructions for installing and configuring the Smart ZigBee PIR motion sensor KVP-ZMD-01.
Before installing Smart ZigBee PIR motion sensor, you need to install and configure the mobile app, ZigBee Gateway and ZigBee Sterilizer. If you haven't already, read How to Install and Configure Smart ZigBee Gateway and How to Install and Configure Smart ZigBee Sterilizer

How to Install and Configure Smart ZigBee Sterilizer

01

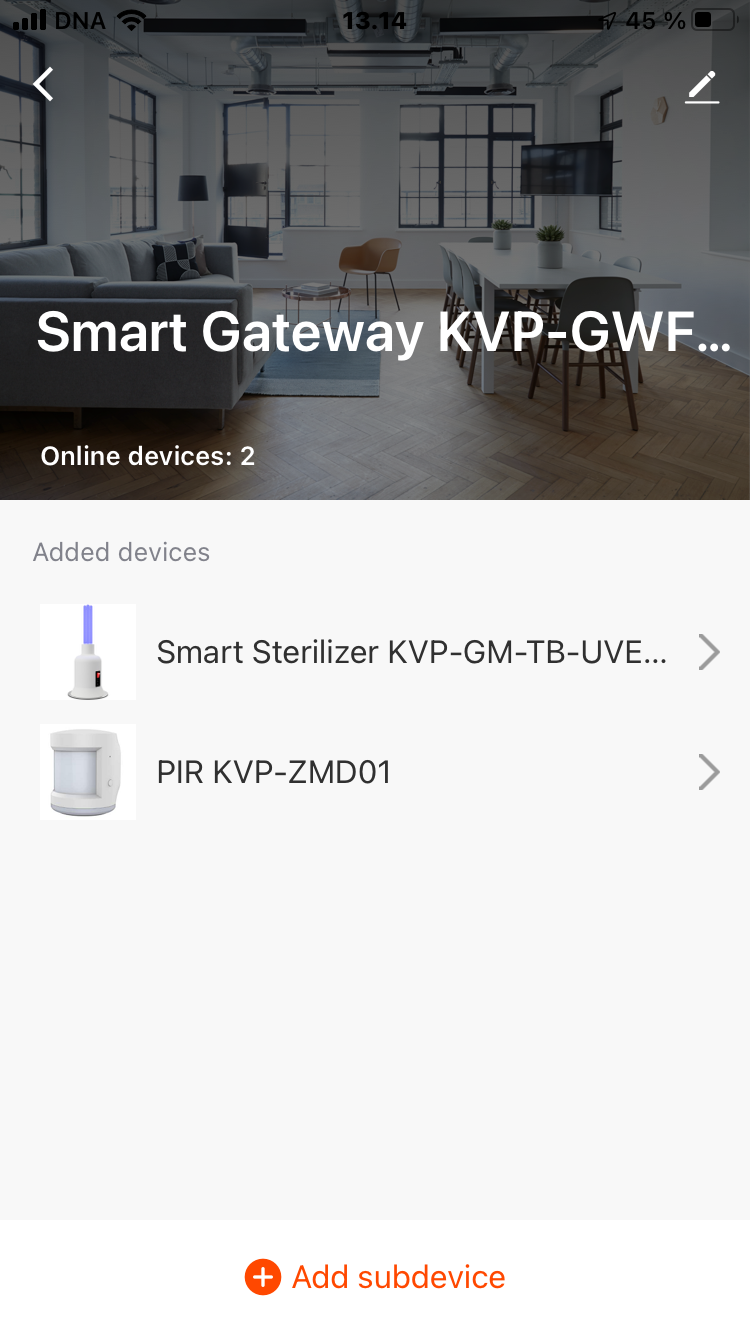
How to install a ZigBee PIR

Installing a ZigBee PIR sensor is similar to installing any other device.

Press and hold the button on the sensor until the LED flashes rapidly at intervals of approximately two times per second.

Go Home and select Smart Gateway
Click Add Device
Press and hold the reset button of the PIR until indicator LED starts to blink and then сlick LED already blink
Wait until the device is found
Click Done
Click on the installed device
Select the room where it located and click Done
Done

02

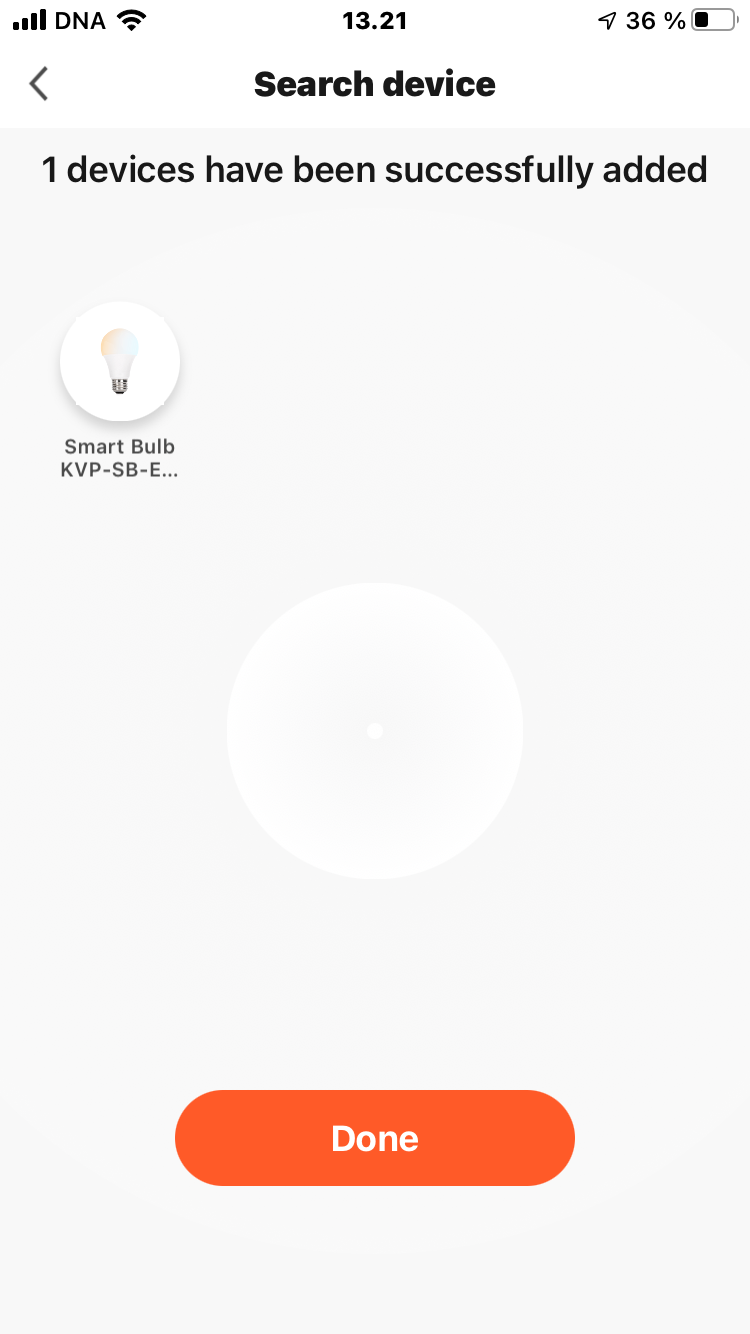
How to install a Smart Bulb

We will use the Smart Light Bulb as an example to demonstrate how the Smart Sterilizer and conventional lighting work together.

You can skip this step if you only want to configure PIR motion sensor

Smart bulb
Click Add subdevice
Turn on and off the Smart Bulb 5 times until it blinks
Wait until the device is found
Click Done
Assign a room
Click Done
Done
You are now ready for the next step

03

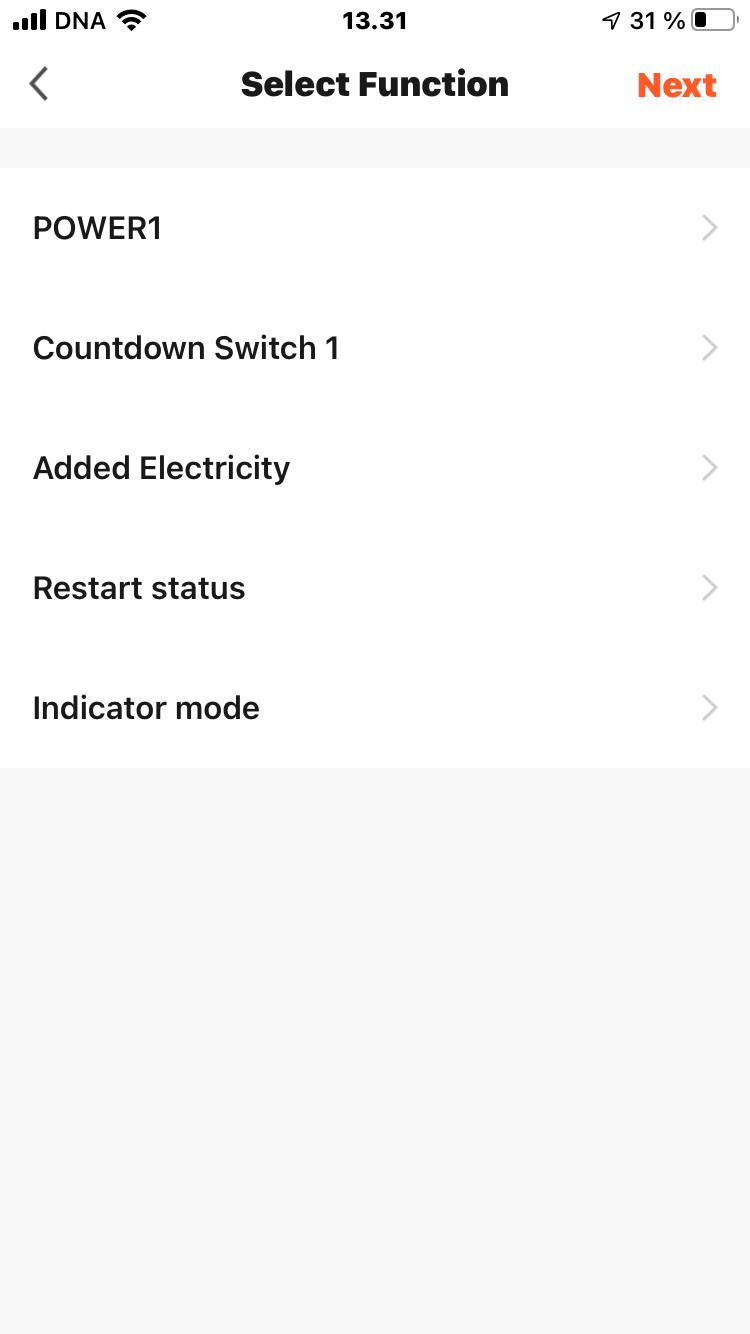
How to set up the Smart Sterilizer for sterilization after each visit
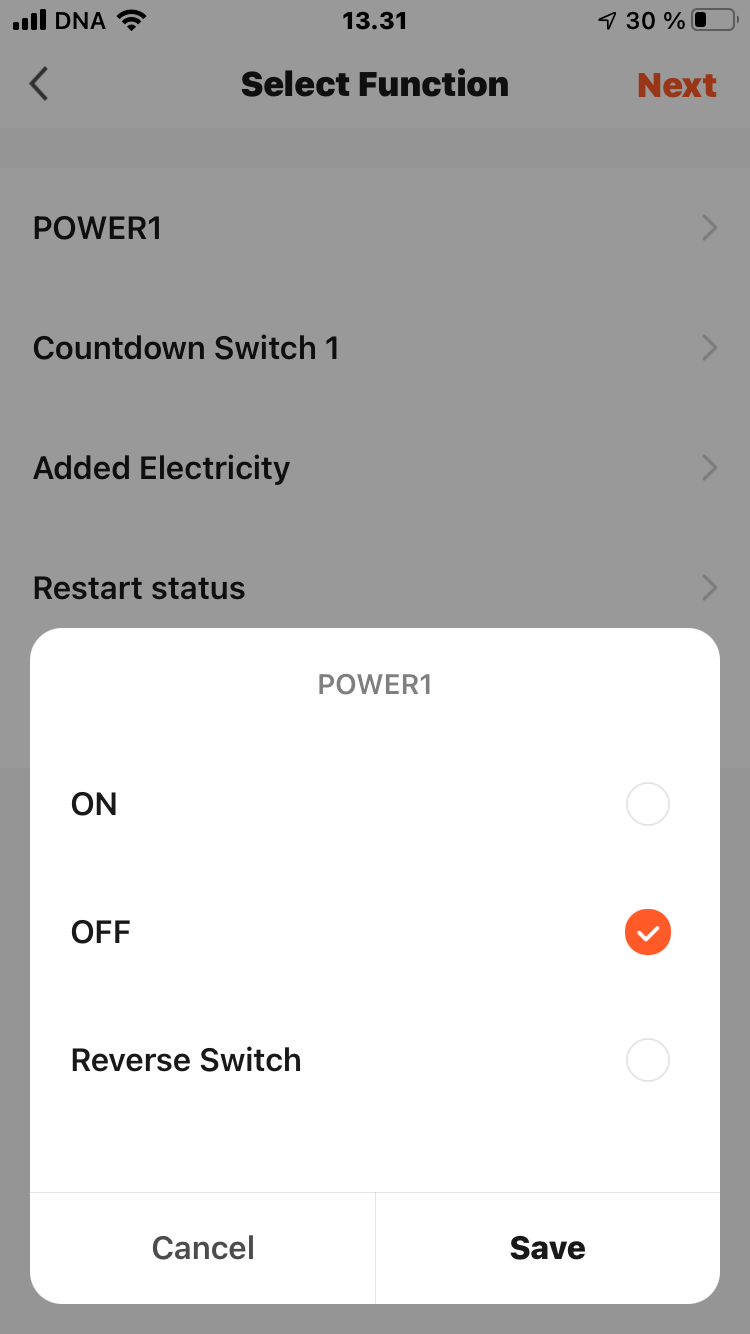
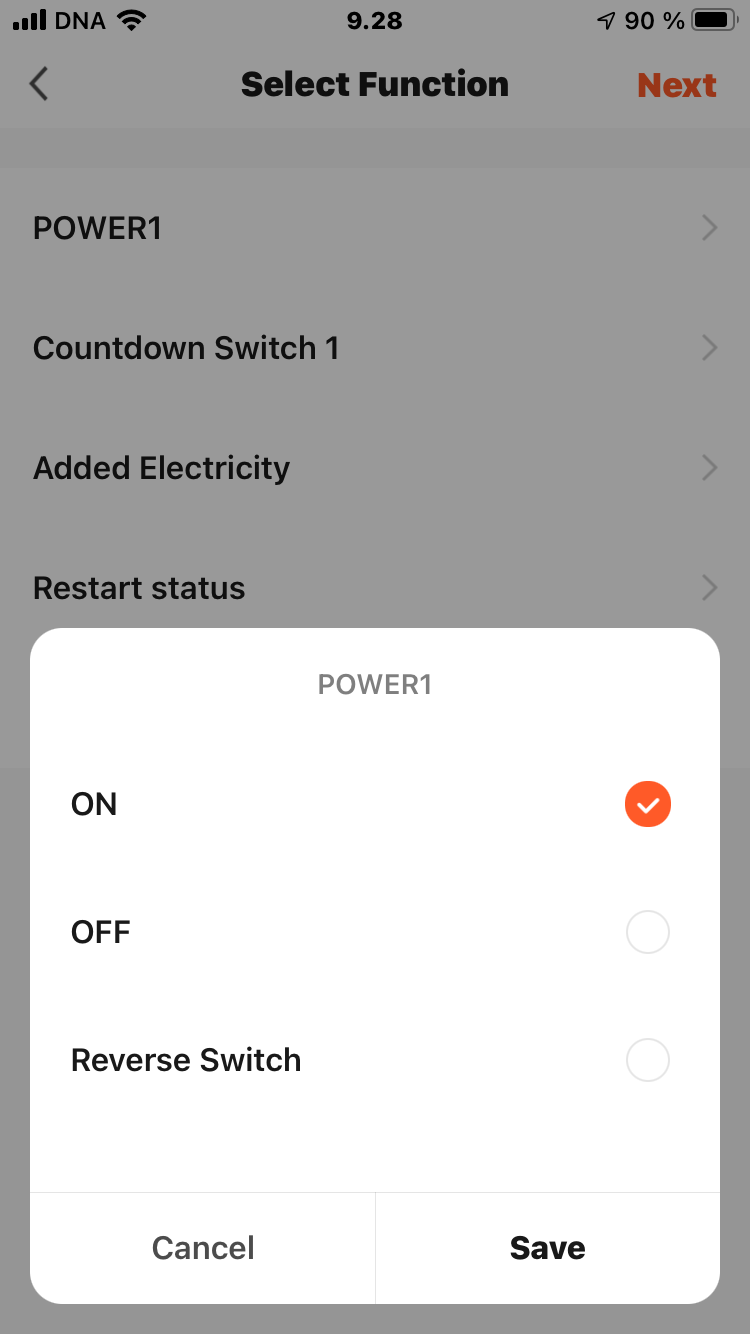
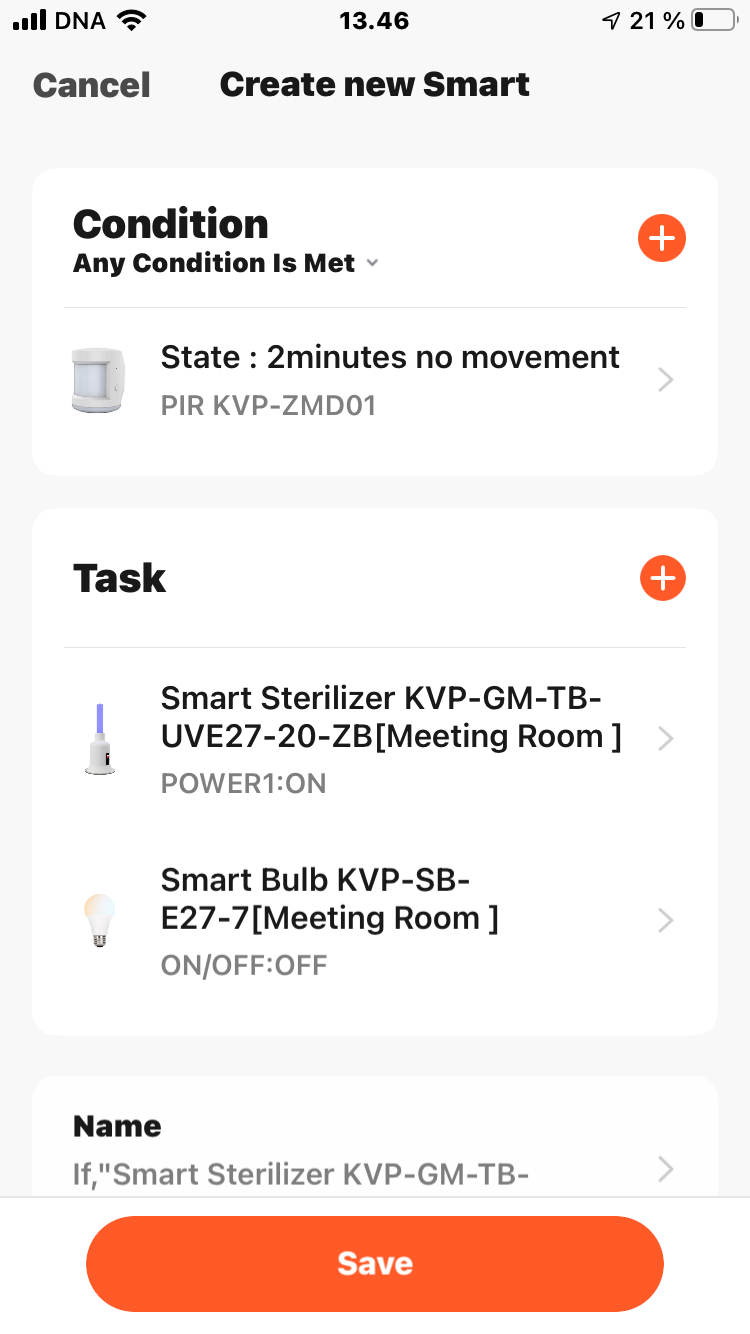
In this example, Smart Sterilizer and Smart PIR work together with standard lighting (Smart Bulb acts as it). If you do not want to automate ordinary lighting, then simply ignore all the actions with Smart Bulbs
Industrial lighting
Click Smart
Click Automation
Click +
Click When device status change
Select PIR from the list
Select State
Select Motion detected
Select Run the device
Select Smart Sterilizer from the list
Select POWER1
Select OFF, click Save and click Next
Click + in Task section and click Run the device
Select Smart Bulb from the list
Select ON/OFF
Select On, click Save and click Next
Scroll down
Click Name and type the name of automation
Click Save, click Save and click Yes
Click +
Select When status changes
Select PIR
Select State
Select 2minutes no movement
Select Smart Sterilizer
Select POWER1, select ON, select Save
Select + in Task section
Select Smart Bulb
Select ON/OFF
Select OFF click Save
Click + on Task section
Click Delay to set up sterilization duration
Set duration of sterilisation
Click + on Task section
Select Smat Sterilizer the click POWER1
Select OFF, Click Save and click Next
Scroll down
Click Name
Edit Name, click Save and click Save again
Click Yes
Done
To see Logs click on ... (near Automation) and select Logs
Here you can see a report of all completed automations

04

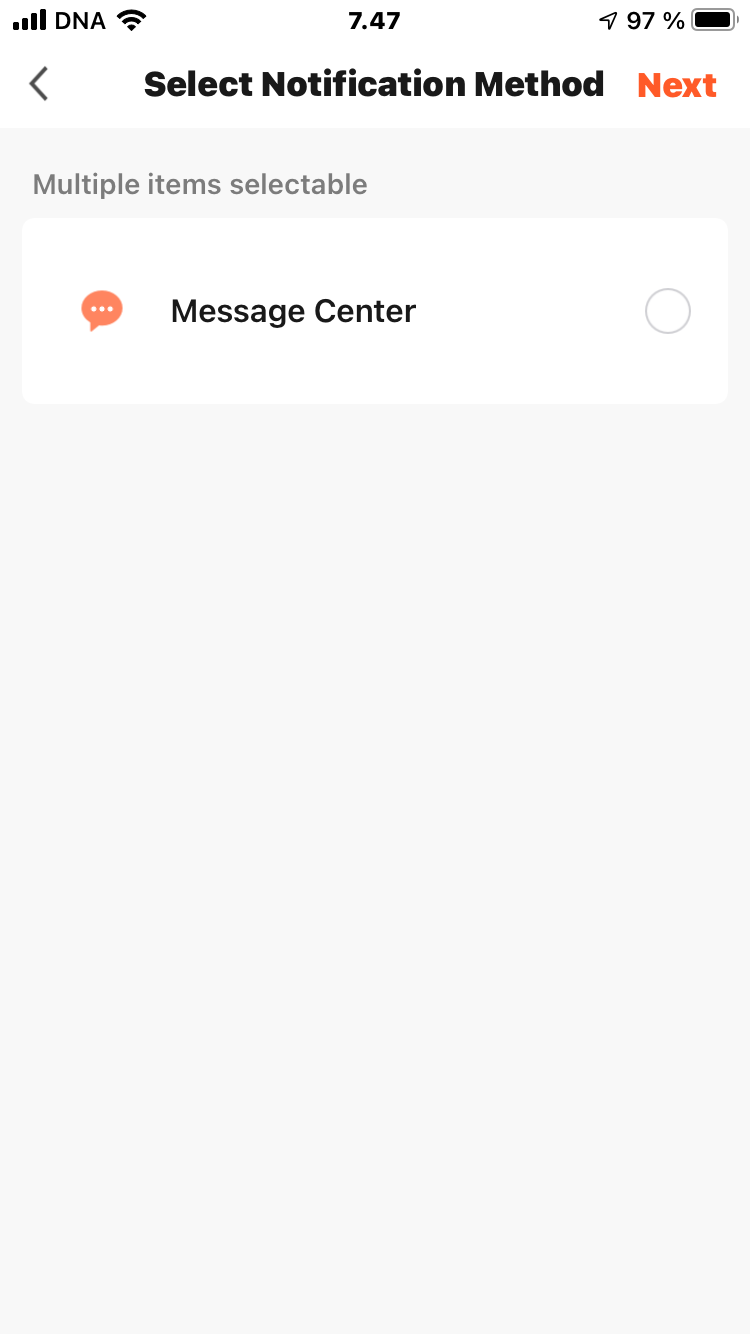
How to set up low battery alarm for the PIR

For normal operation of the automation that depends on the IR sensor, it is necessary to control the battery charge on the sensor. In order not to forget to replace the dead battery in time, the easiest way is to set up automatic notification.

Moreover, you can set multiple reminders, for example 20%, 5% and 1%.

Industrial lighting
Go to Automation tab and click +
Select When device status changes
Select PIR from the list
Select battery from the list
Move the slider to the desired battery level
Click Next
Select Send notification
Select Message Center
Click Next
Click Name to edit
Click Save
Click Save
Click Yes
Done

05

How to remove Smart devices

Before moving any of Smart device to another premise and connecting to another Smart ZigBee Gateway, you need to remove it from the mobile application.
Industrial lighting
Click Setting and Remove Device
Click Disconnect (No select Disconnect and wipe data)
Click Confirm
Device is removed